 Pin This
 The first time I made garlic aioli from scratch, the kitchen was filled with the sound of whipping and the gentle bite of garlic in the air. I'd always bought it pre-made at the store, but one rainy afternoon curiosity got the better of me. Watching the thick mayonnaise take shape still feels a bit like magic, especially when every ingredient is so simple and honest. It&aposs one of those rare moments when patience pays off within ten minutes. The satisfaction comes not only from taste but from seeing the glossy emulsion come to life right under your whisk.
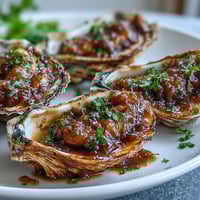
I remember making a big batch for a backyard seafood night with friends—everyone kept asking for the recipe after tasting the creamy aioli with shrimp. The bowl was nearly licked clean before the evening ended. When the conversation quieted, it was punctuated by the crunch of veggies dipped into aioli. It&aposs now my secret weapon at gatherings, always requested before anything else. It became our unspoken tradition to make a fresh batch together, hands sticky with lemon and arms tired from whisking.
Ingredients
- Egg yolk: Using a room temperature egg yolk ensures the aioli emulsifies properly—cold eggs tend to split, so I always leave one out in advance.
- Dijon mustard: Just a teaspoon boosts the flavor and helps the emulsion hold, making the aioli extra creamy.
- Fresh lemon juice: Adds brightness and subtle tang, and I&apove found freshly squeezed is always best for taste.
- Neutral oil (such as sunflower or canola): Neutral oils don&apost overpower the garlic, and pouring it slowly is key to a stable, glossy mayonnaise.
- Garlic cloves (finely minced or grated): The garlic delivers the punch—grating produces an intense flavor, but roasting mellows it if you prefer.
- Sea salt: Fine sea salt dissolves quickly and evenly, making it easy to season the aioli perfectly.
- Freshly ground black pepper: A few grinds just before serving give the aioli a gentle spicy lift that makes it irresistible.
Tired of Takeout? 🥡
Get 10 meals you can make faster than delivery arrives. Seriously.
One email. No spam. Unsubscribe anytime.
Instructions
- Whisk the Base:
- Combine the egg yolk, Dijon mustard, and lemon juice in a medium bowl and whisk until the mixture becomes satiny and slightly thicker—listen for the soft sound of the whisk hitting the bowl.
- Emulsify Slowly:
- Start drizzling the oil in drop by drop while whisking constantly; when the mixture begins to thicken and lighten, keep pouring in a gentle, steady stream, never rushing as the emulsion takes shape.
- Add Garlic and Season:
- Stir in the minced garlic, sea salt, and black pepper. Pause for a moment to smell the garlic—adjust seasoning or lemon juice as you like.
- Finish and Chill:
- Scrape the aioli into a jar or bowl, cover, and let it chill in the fridge for up to three days; the flavors meld and the texture settles into creamy perfection.
 Pin This
 One afternoon, my partner and I ended up dipping everything from carrot sticks to sourdough into the aioli, laughing when we realized it tasted good on just about anything. That moment made me appreciate how a simple sauce could steal the spotlight. It went from being just a condiment to the side to the centerpiece of our snack plate. We even shared spoonfuls right from the jar when nobody was looking. The aioli turned an ordinary day into one we still talk about whenever we cook together.
Choosing the Best Oil
Sunflower, grapeseed, or canola oils all create a smooth, mild base that lets the garlic shine. Over the years, I&apove experimented with olive oil—it adds complexity, but can make the aioli taste bitter and strong. If you&apove ever struggled with overly assertive flavor, switching to a lighter oil changes everything. The point is to let the garlic and lemon do the talking. Now I always check my oil before starting, so I avoid unexpected flavors.
Keep Your Whisking Hand Ready
Whisking vigorously is how you work magic here; if your arm aches, it probably means the emulsion is forming perfectly. Sometimes I recruit help to trade off whisking duties, especially when doubling the recipe. Slow and steady movement is rewarded with an impossibly creamy finished aioli. You might even see a glossy sheen as the mixture thickens. Don&apost stop whisking until every drop of oil disappears.
How to Elevate Your Aioli Every Time
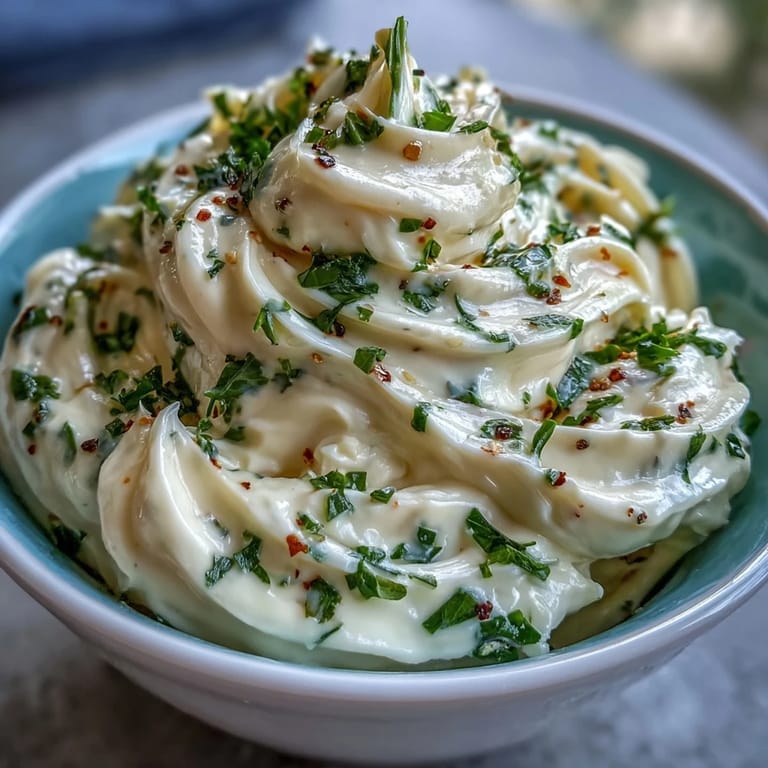
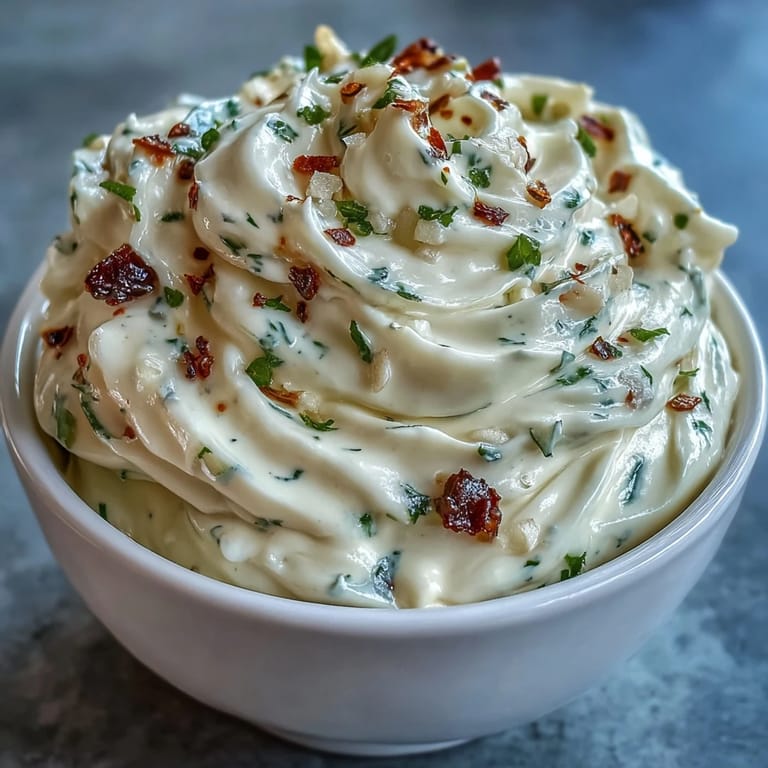
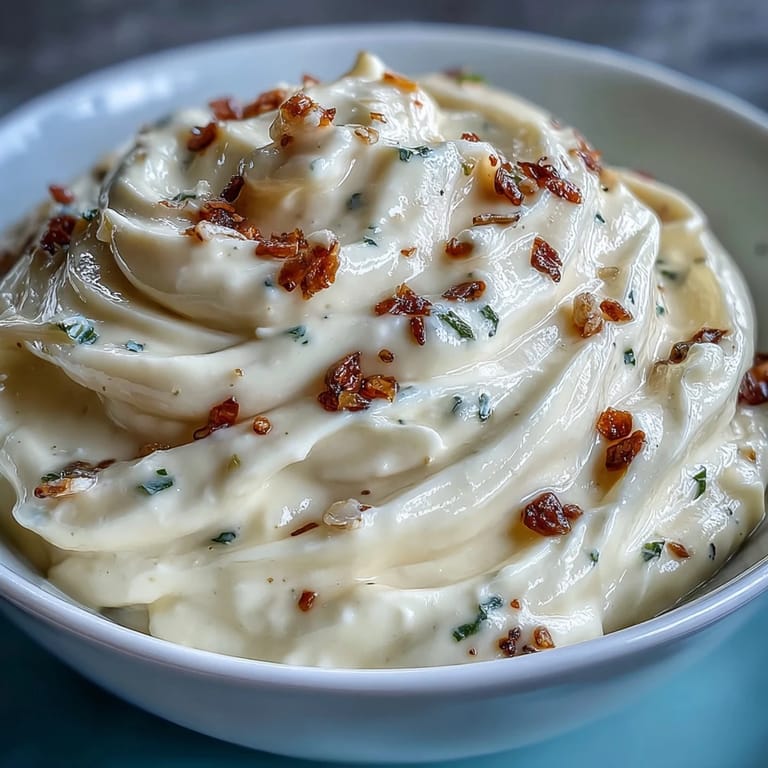
Try roasting the garlic before adding for a sweet, mellow twist, or mix in fresh herbs like parsley or dill for color and freshness. Each batch can be unique, depending on your mood and what&aposs lurking in the fridge. On hot summer days, a little extra lemon juice keeps the aioli refreshing.
- Always taste the aioli before serving—sometimes a pinch more salt or pepper does wonders.
- If it splits, whisk in a spoonful of hot water to bring it back together.
- Use leftovers as a spread on sandwiches or wraps the next day.
 Pin This
 Aioli always invites a little creativity and brings out the best in simple snacks. Sharing it with friends feels like passing along a bit of homemade magic every time.
Recipe Questions & Answers
- → How can I make the garlic flavor milder?
Roast the garlic cloves before adding or use fewer garlic cloves for a subtler taste.
- → What oil is best for this preparation?
Neutral oils like sunflower or canola work well. Avoid strong-flavored oils for balanced taste.
- → Can this be made without eggs?
Swap egg yolk for aquafaba and add extra mustard for a creamy, vegan-friendly alternative.
- → How long does it last refrigerated?
Store the aioli in a covered container for up to three days for best freshness and flavor.
- → What are serving ideas for this condiment?
Use it as a dip for fries, vegetables, seafood, or spread onto sandwiches for extra flavor.
- → Are there allergen concerns?
This includes eggs and mustard. Check all ingredient labels for allergy and cross-contamination info.